


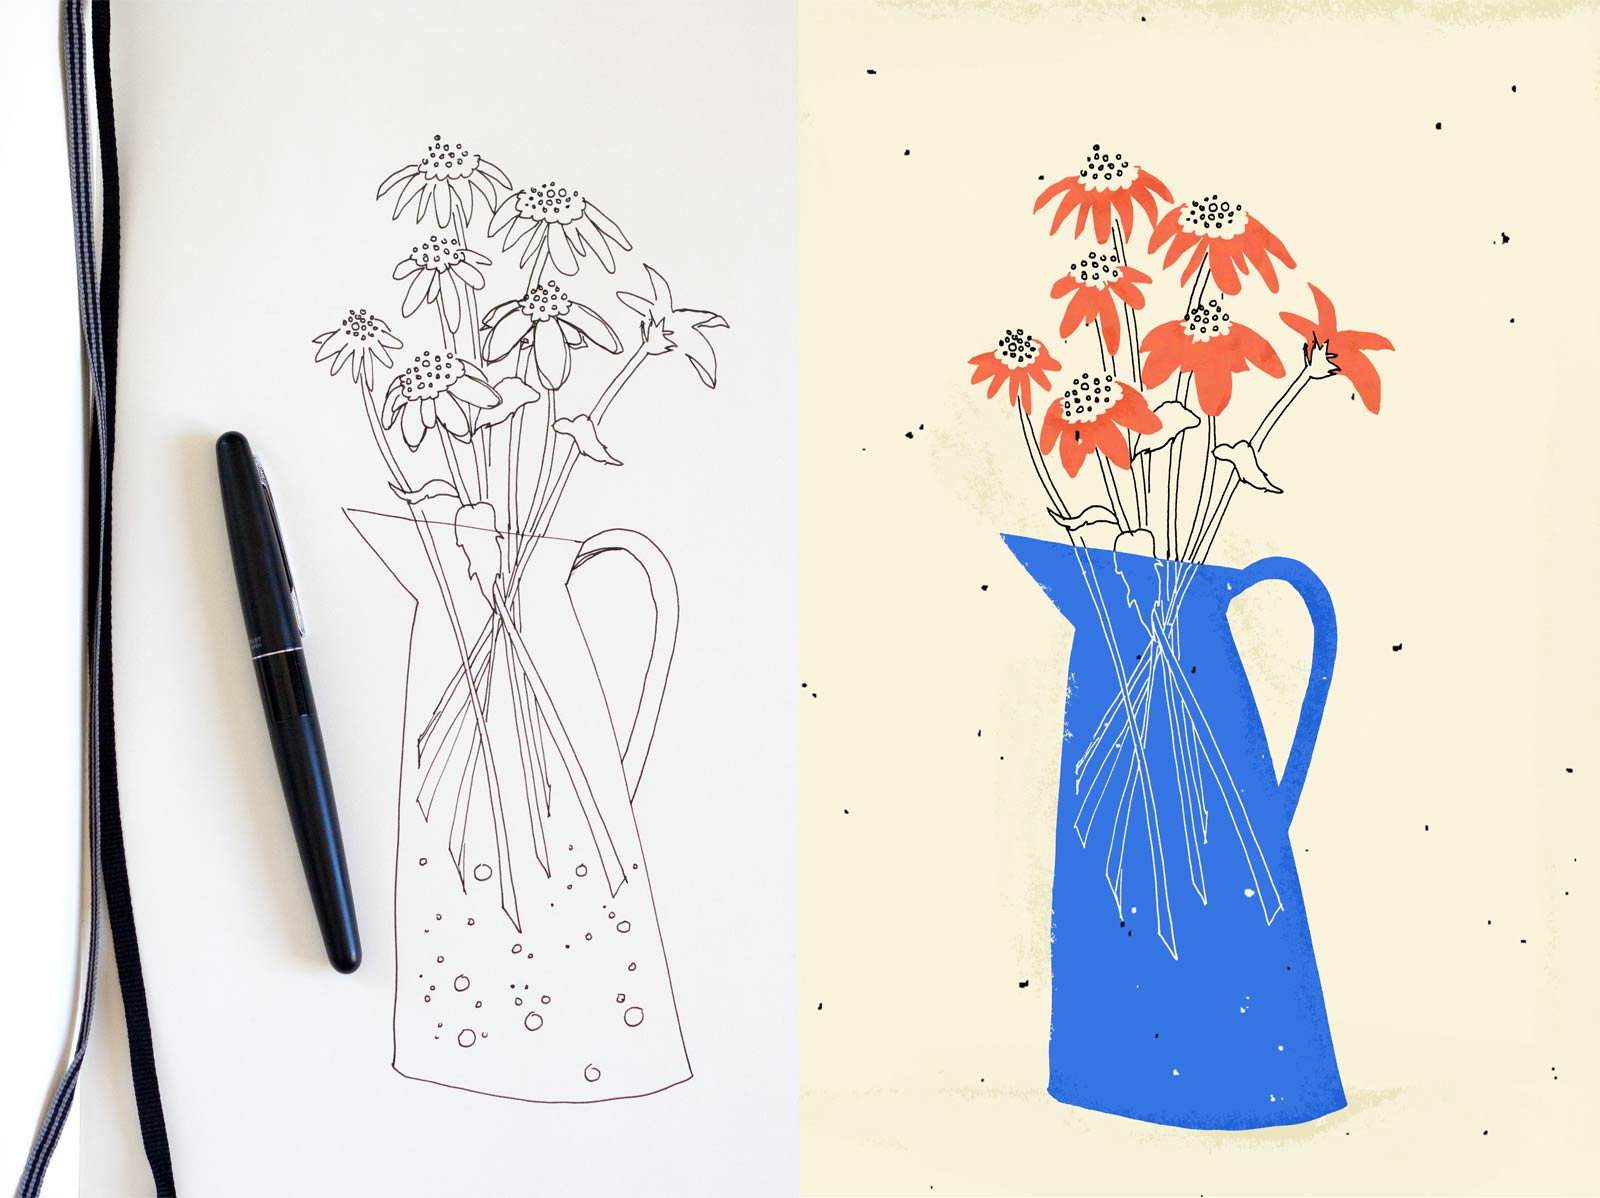
Publishing my fifth Skillshare class gave me pause to go back and look at the class that started it all: Digitizing Hand Drawn Sketches with Character. In that course I showed students how to take ink drawings and bring them into Photoshop to use digitally. For example, below you can see a drawing I did in my sketchbook on the left, and the finished illustration I used it for on the right. Lots of students found the class helpful, and even seasoned Photoshop users wrote me to tell me that they never knew that workflow existed!
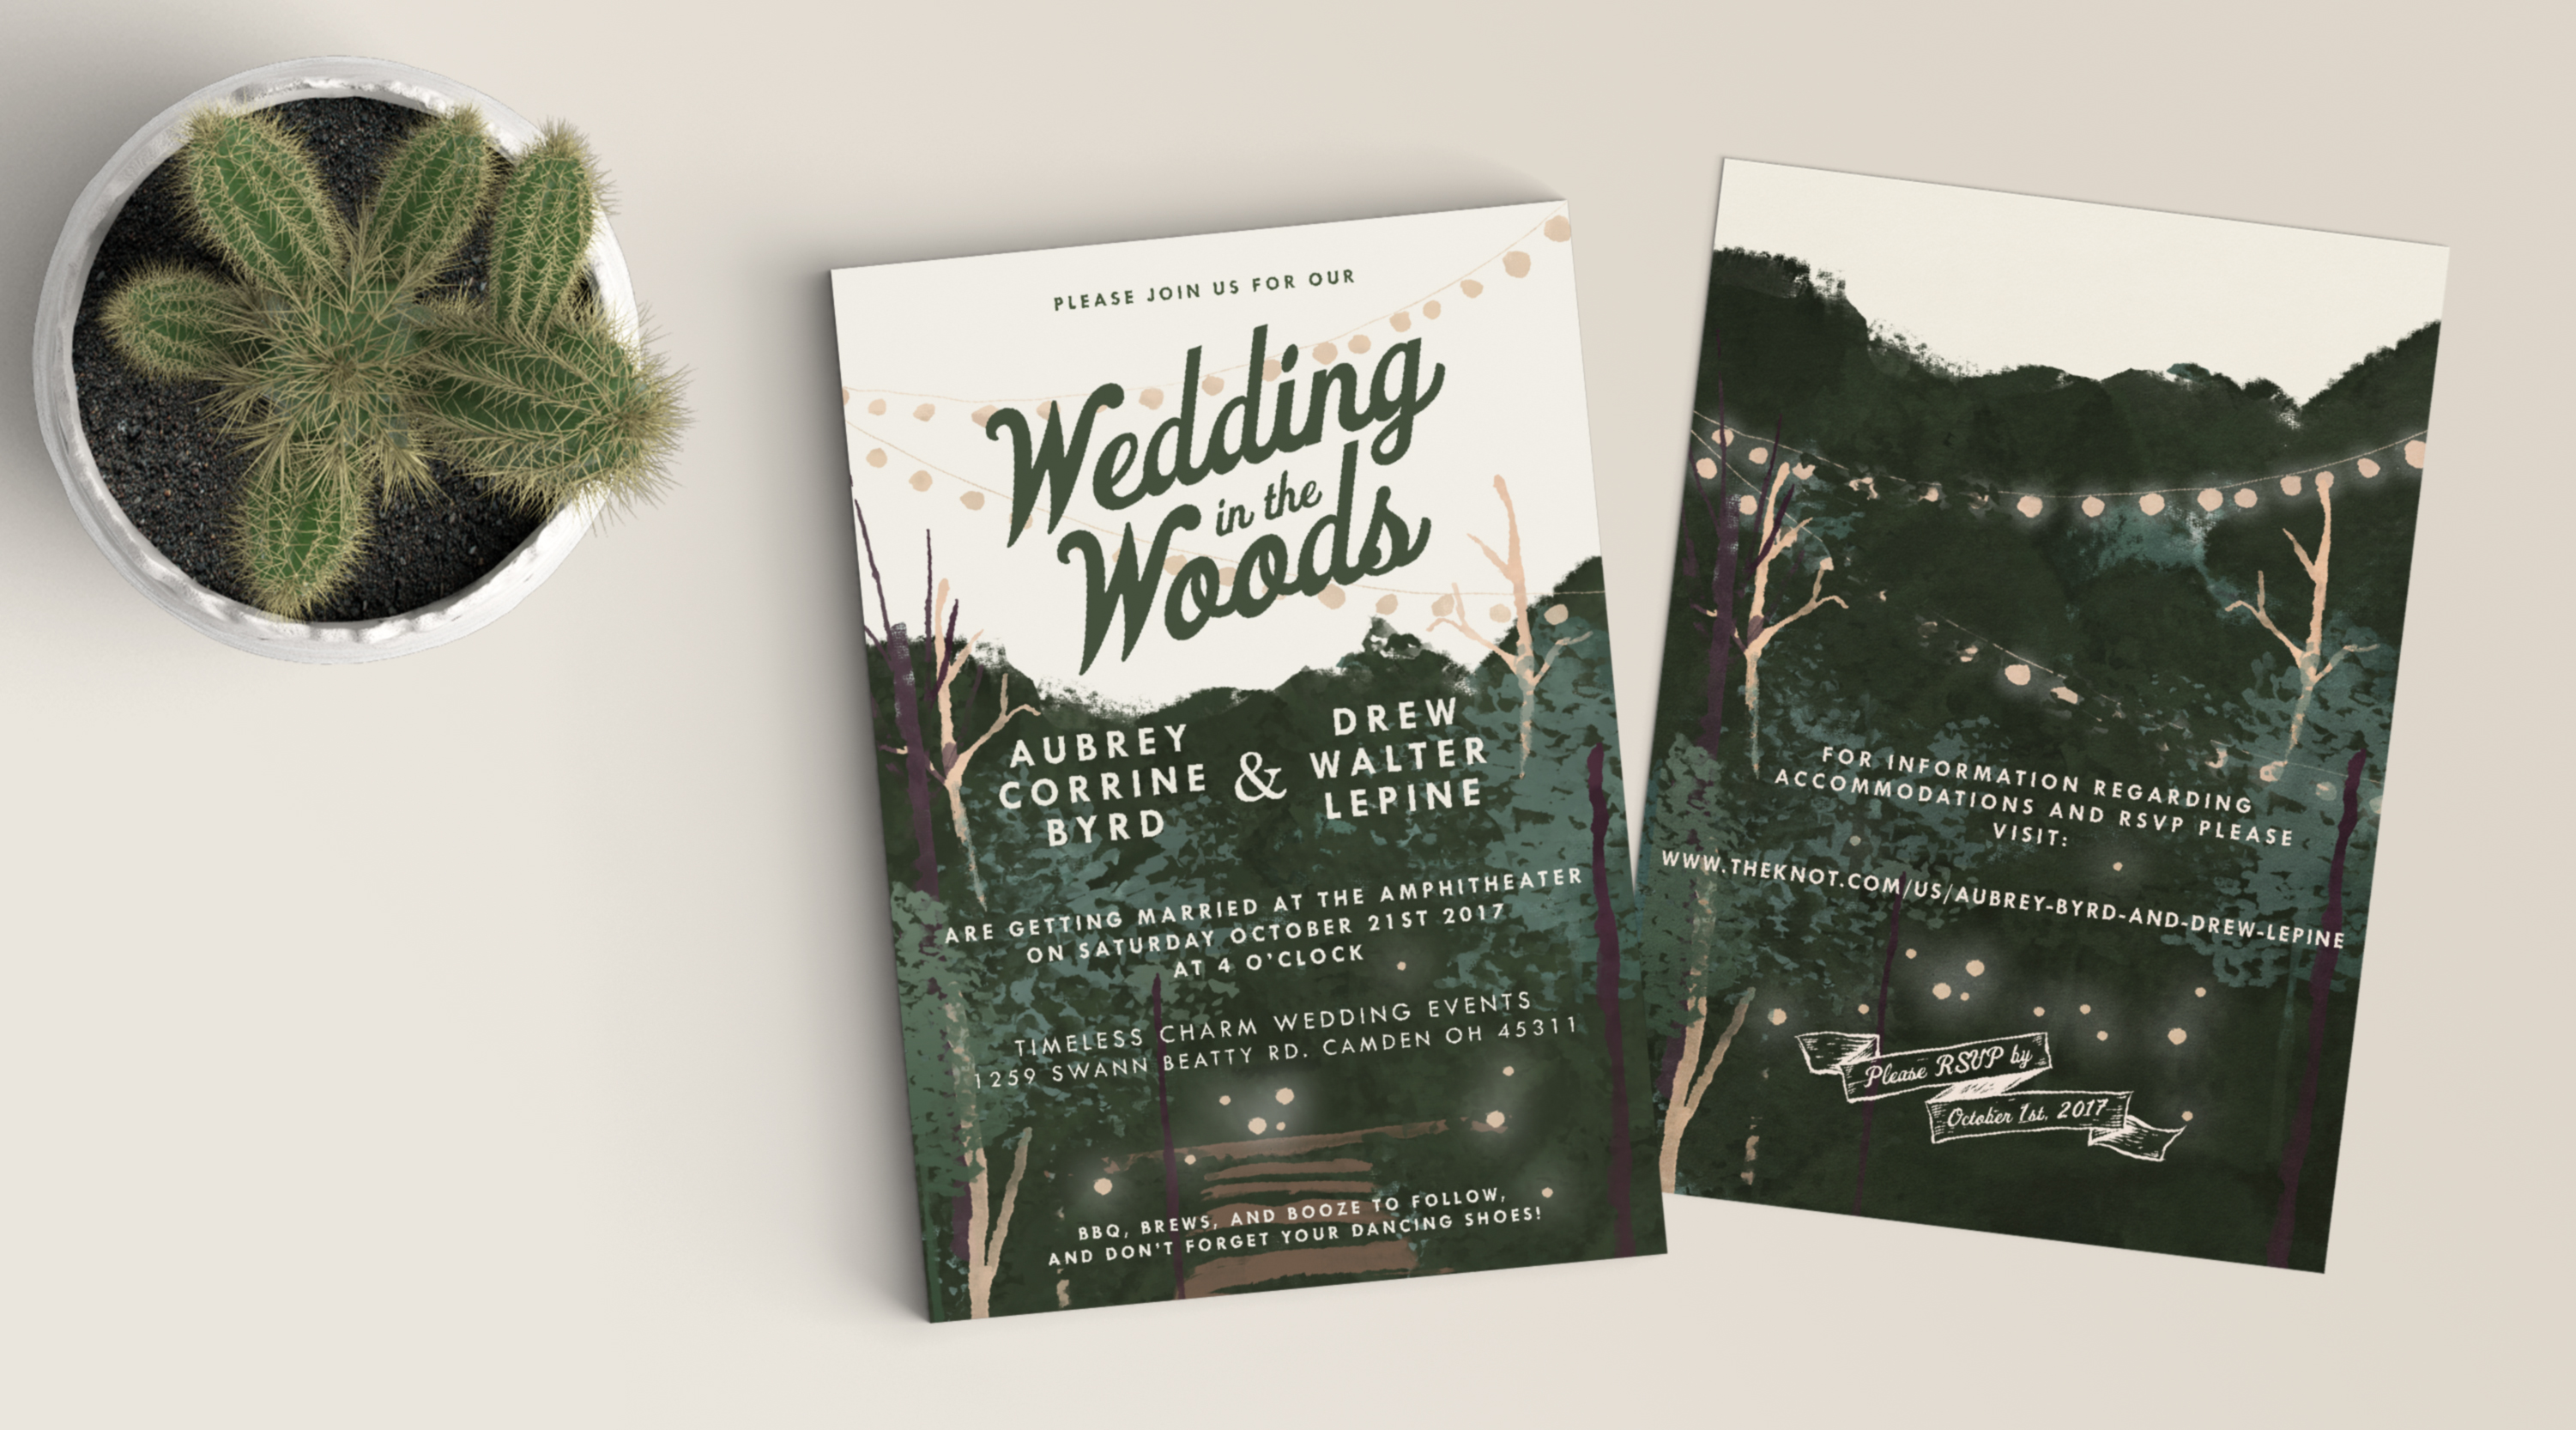
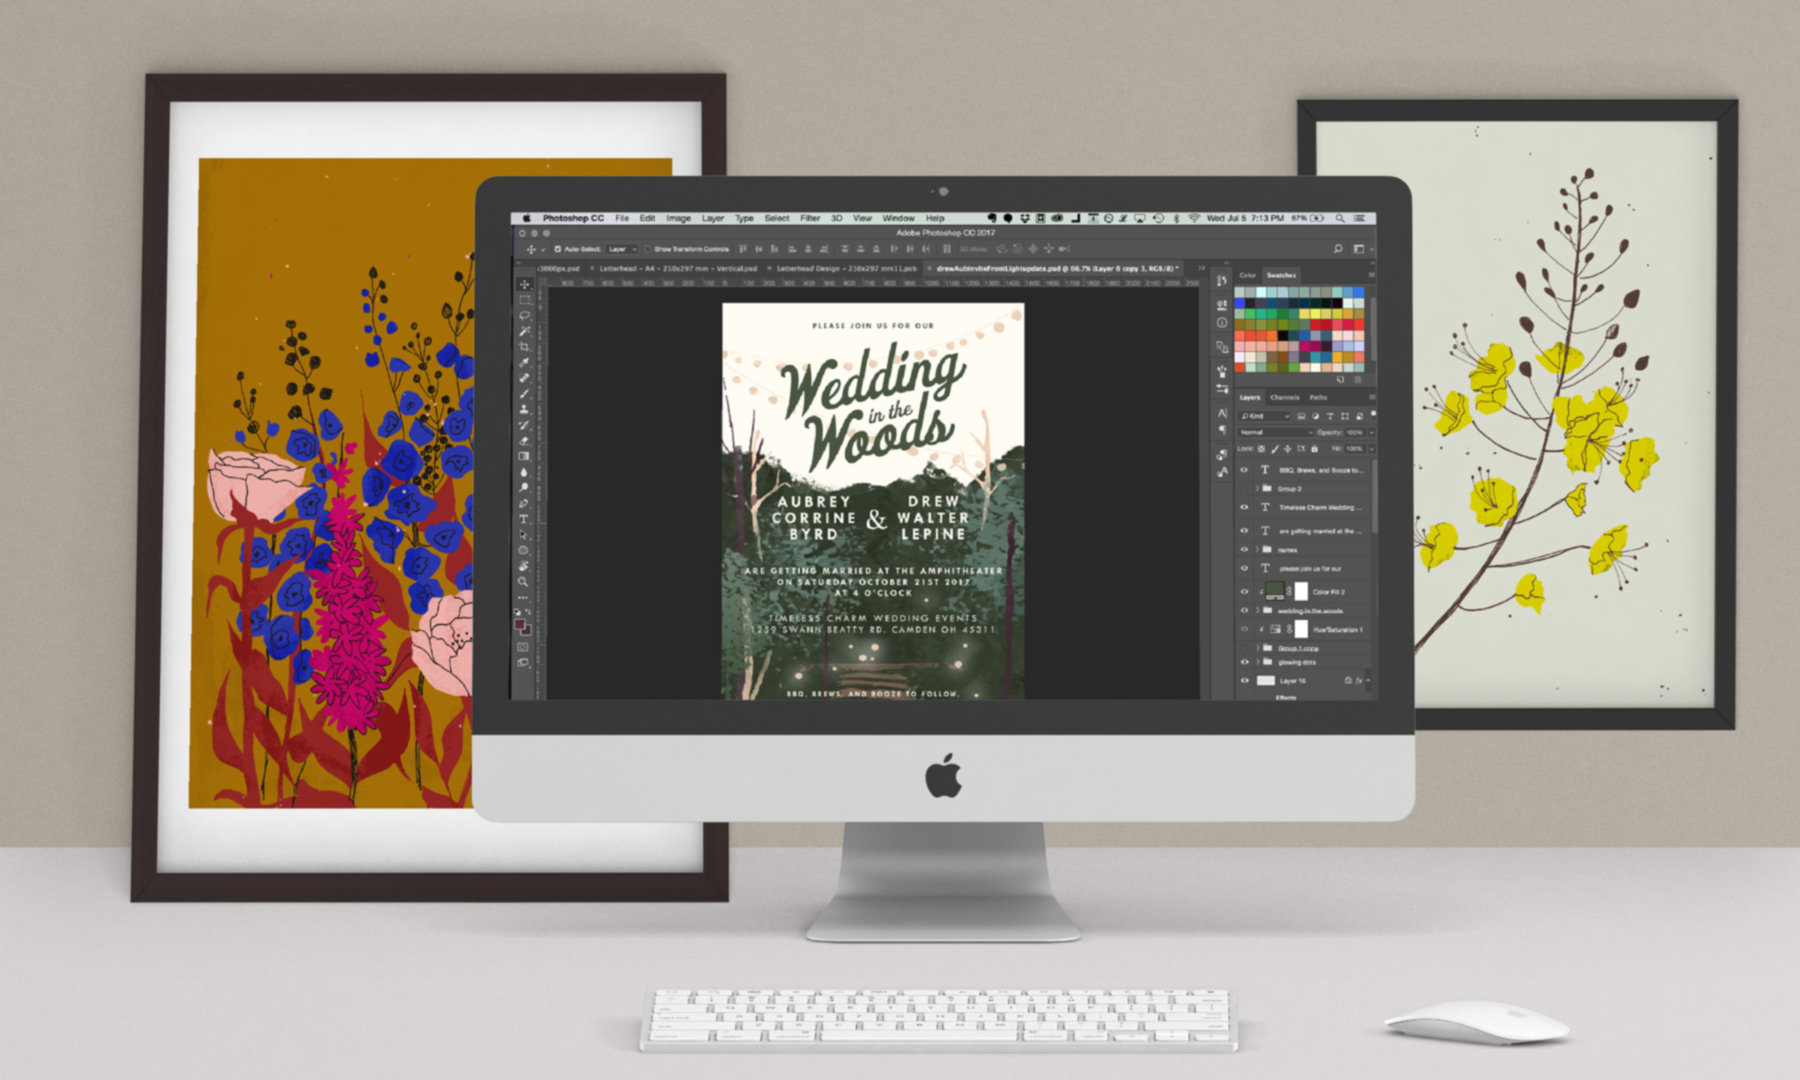
Recently I was commissioned to create wedding invitations for our friends Drew and Aubrey and decided to try this workflow out with my paintings; that way I’d have the flexibility of the digital space for making my composition and color palette, with the true-to-life textures and trademarks of real painting. Dang! What a world we live in!
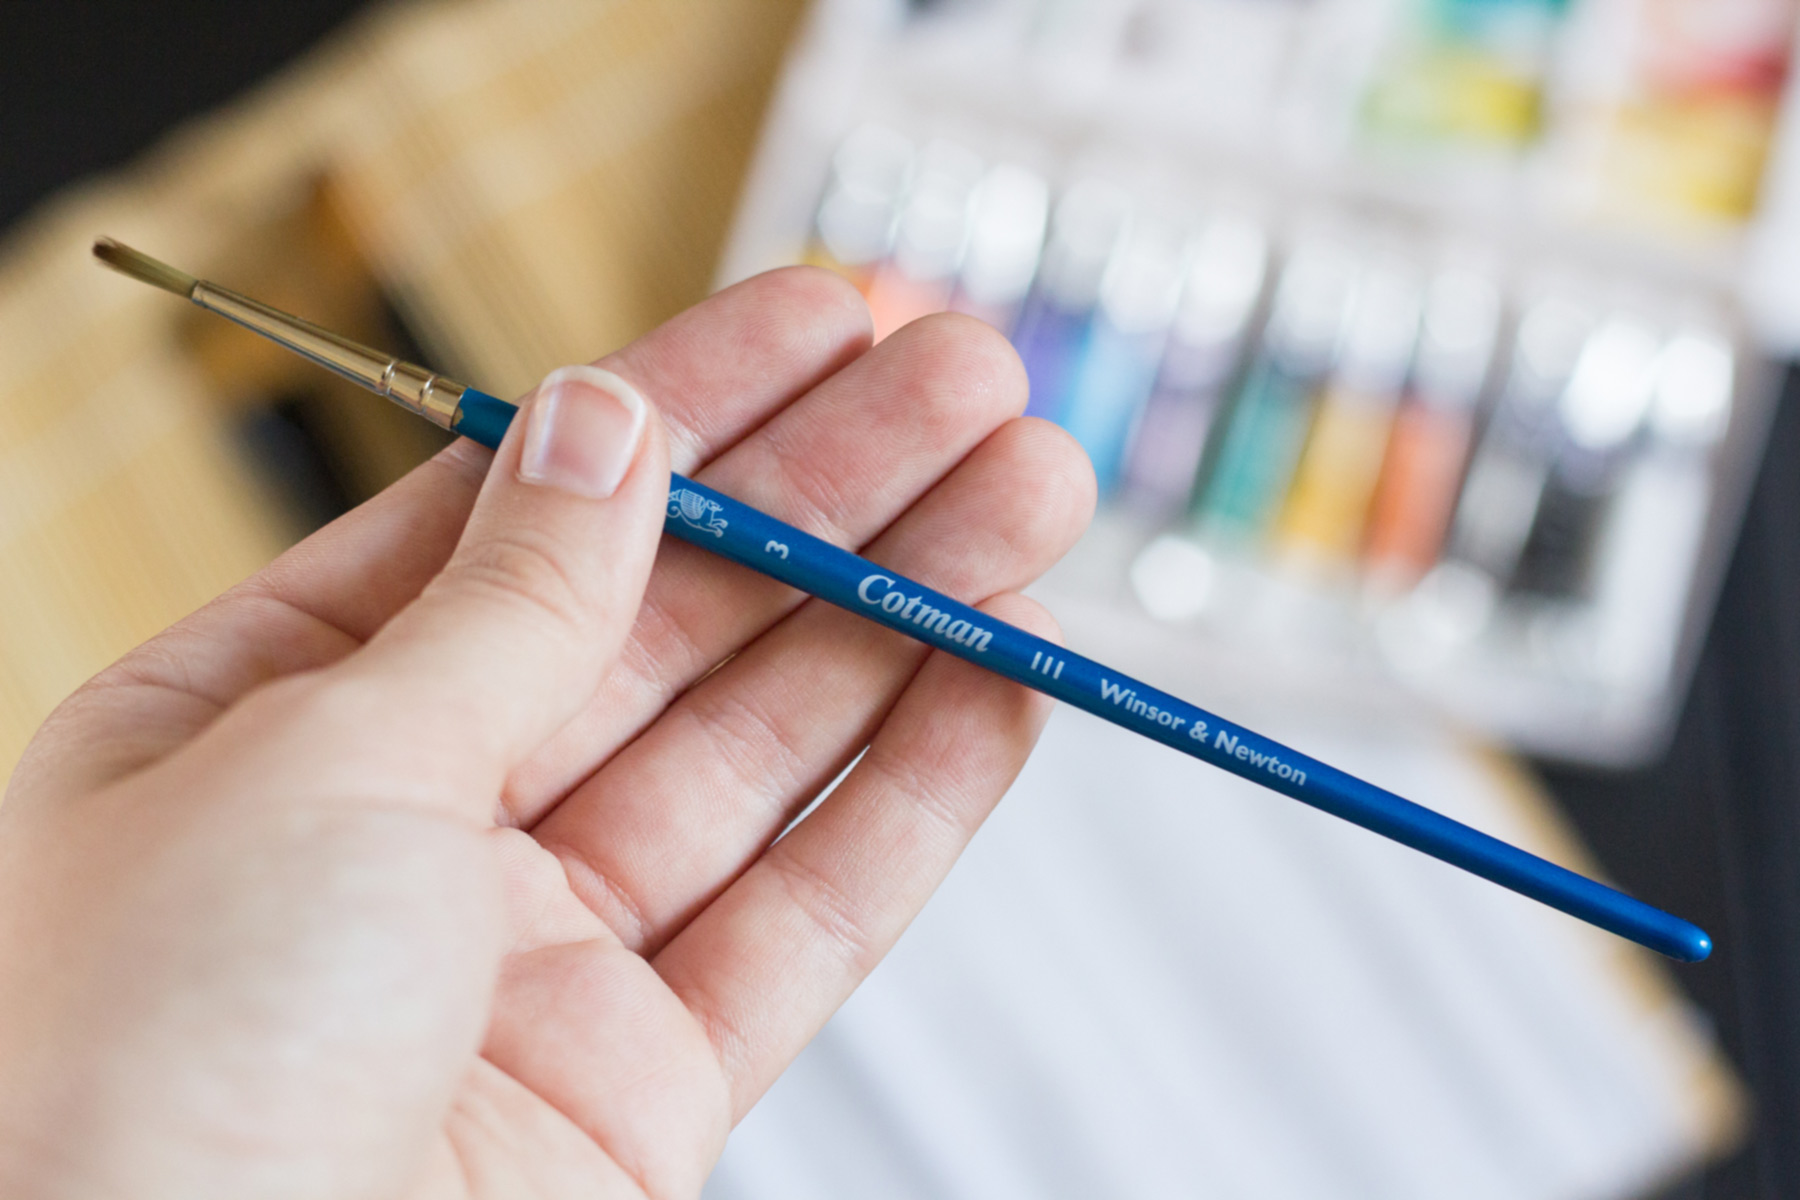
Here’s how I made these invitations: First I grabbed the materials I had, which included a palette of Winsor & Newton watercolors, a brush that came with the little set, and a pad of paper for acrylics because I didn’t have any watercolor paper and figured the stuff I had would be thick enough. It worked in a pinch!

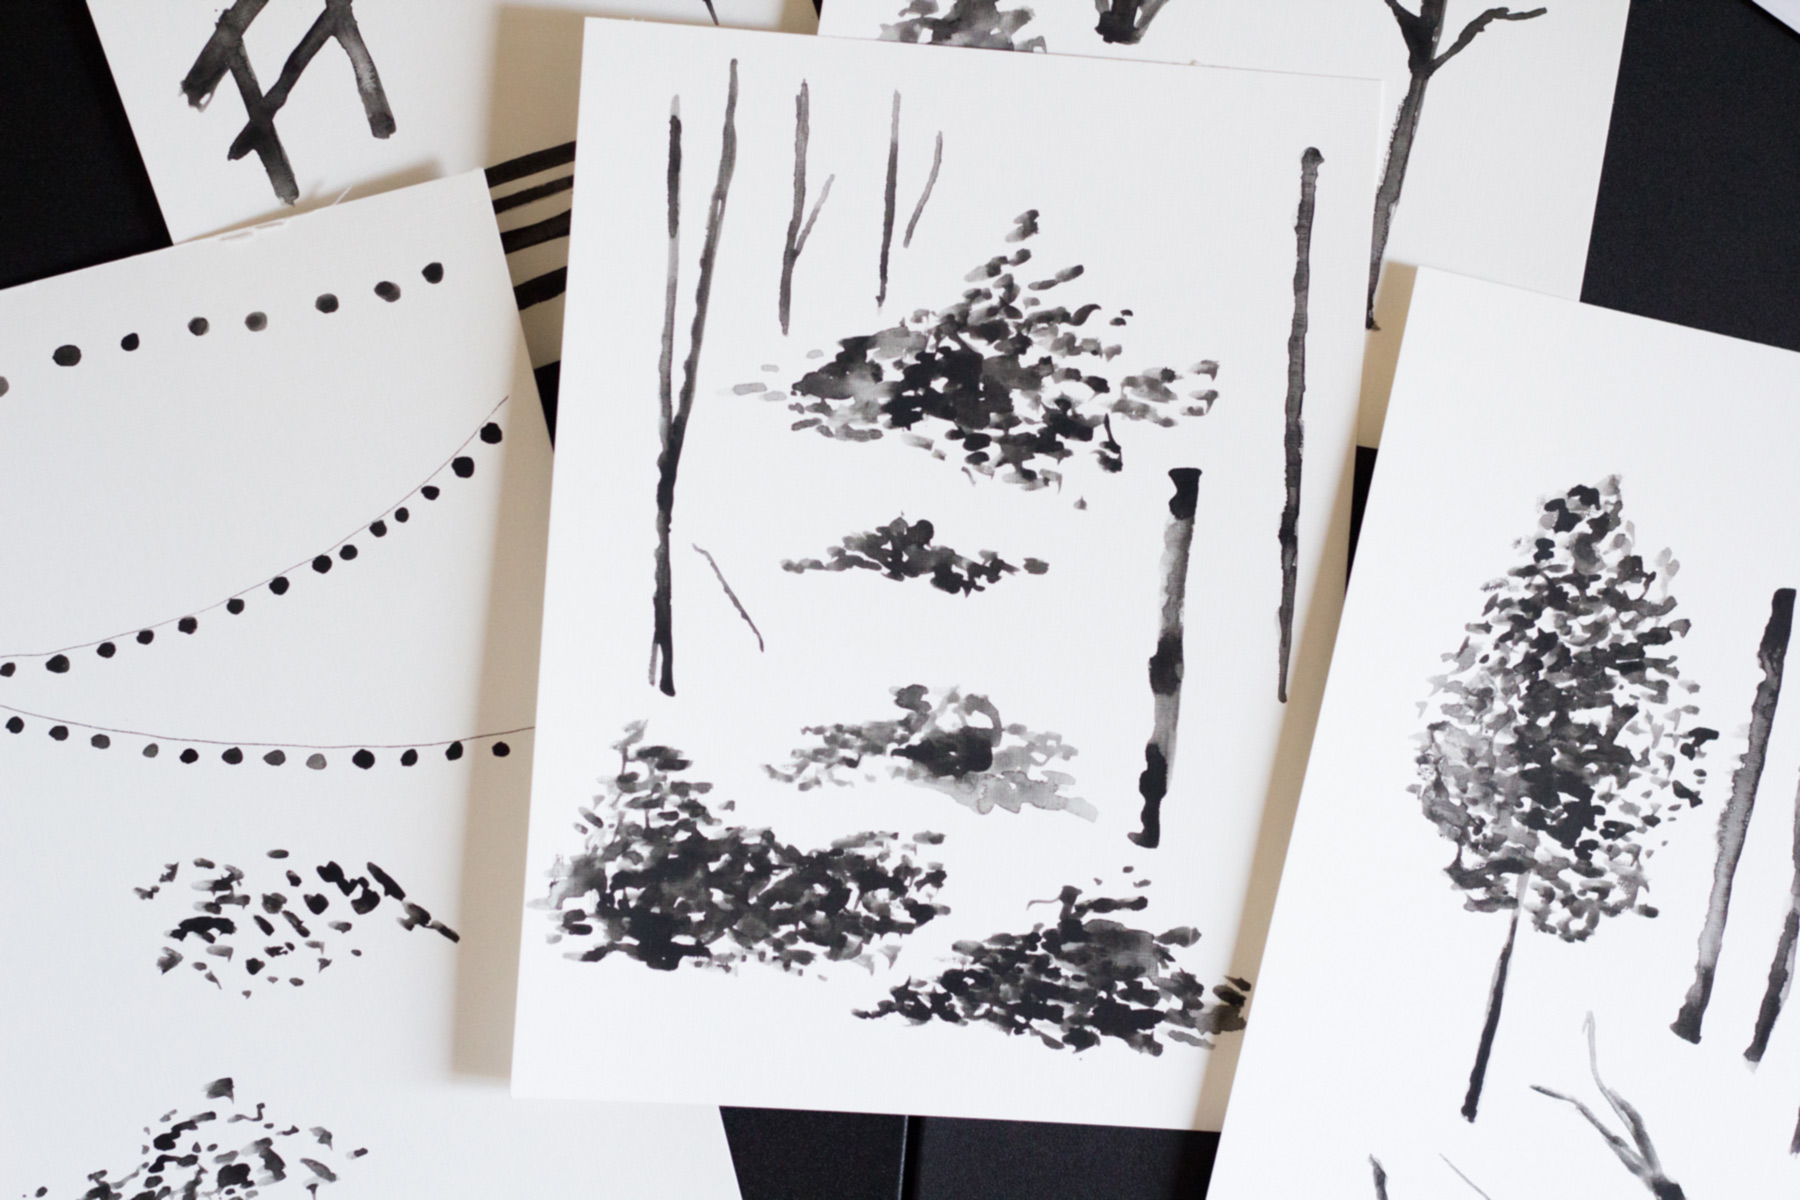
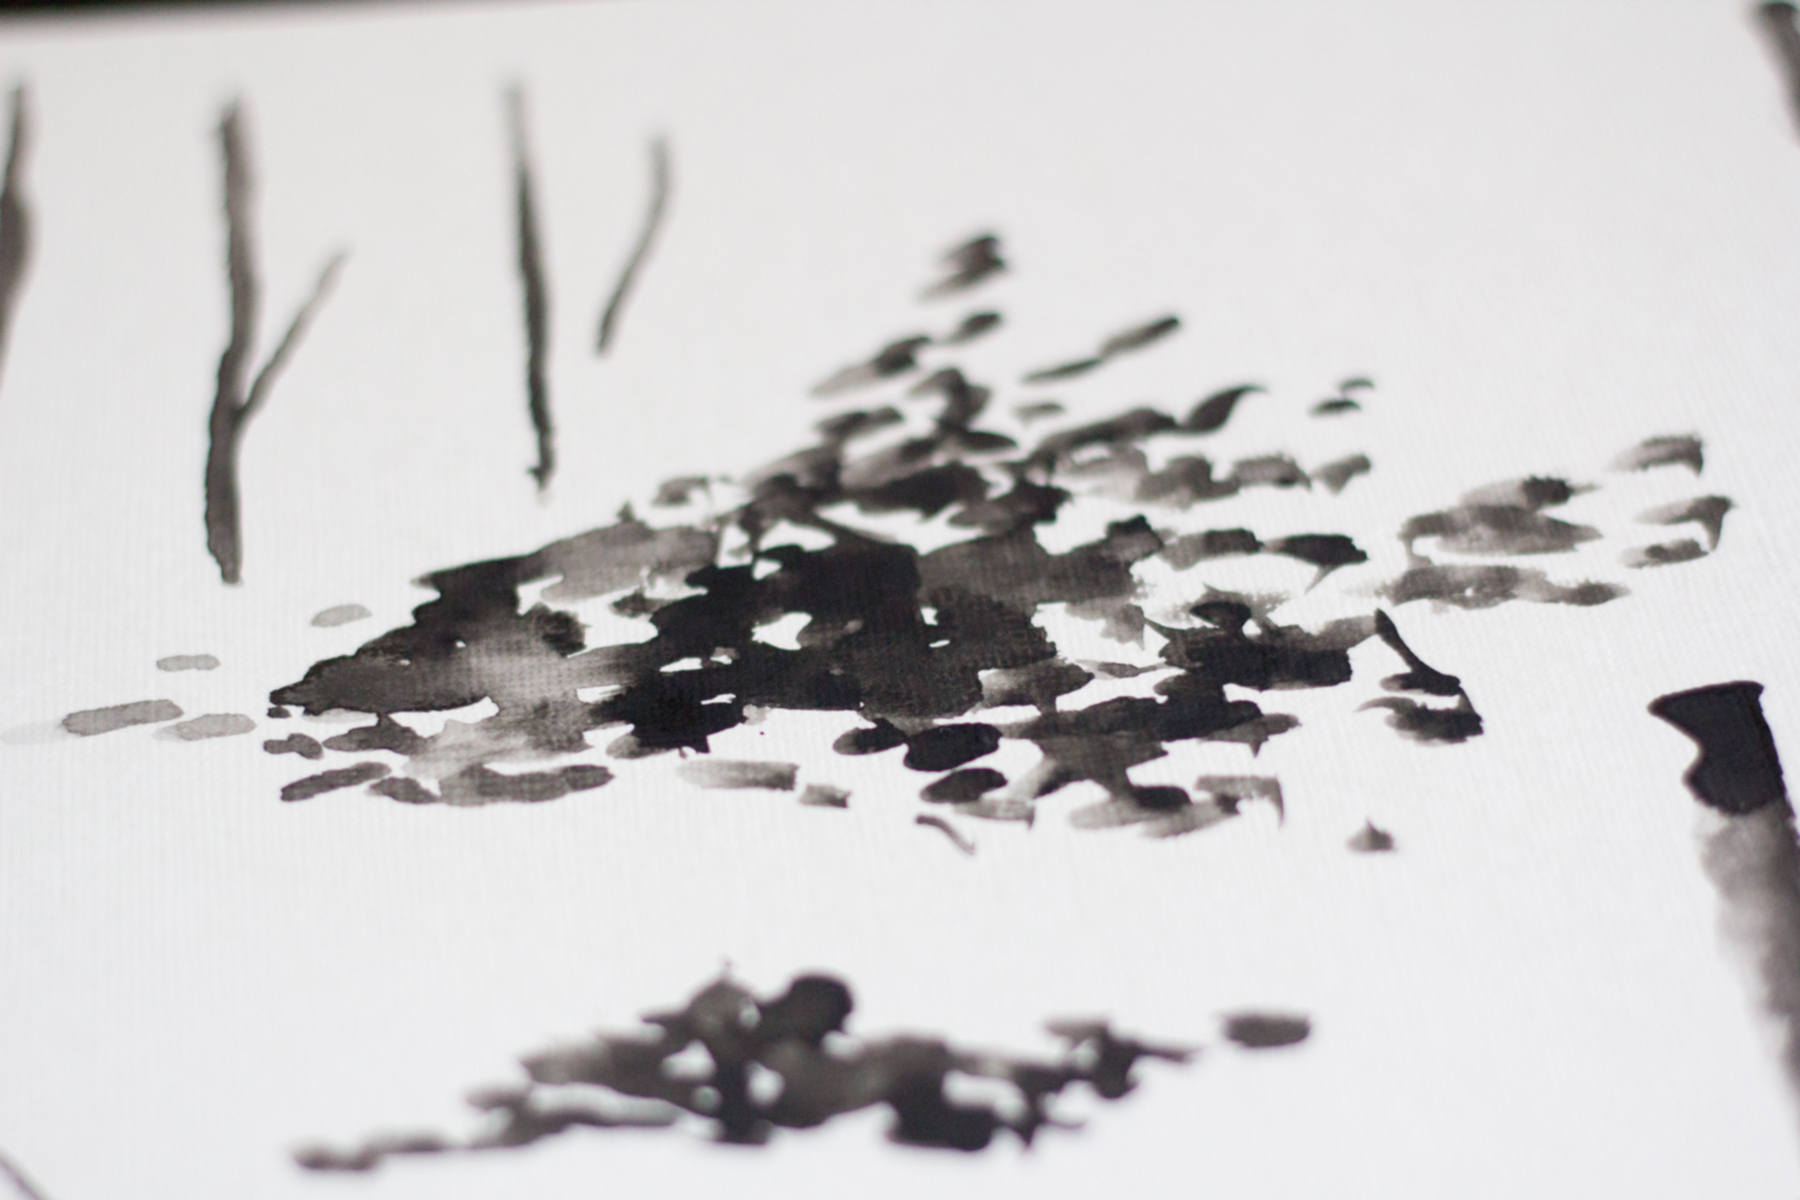
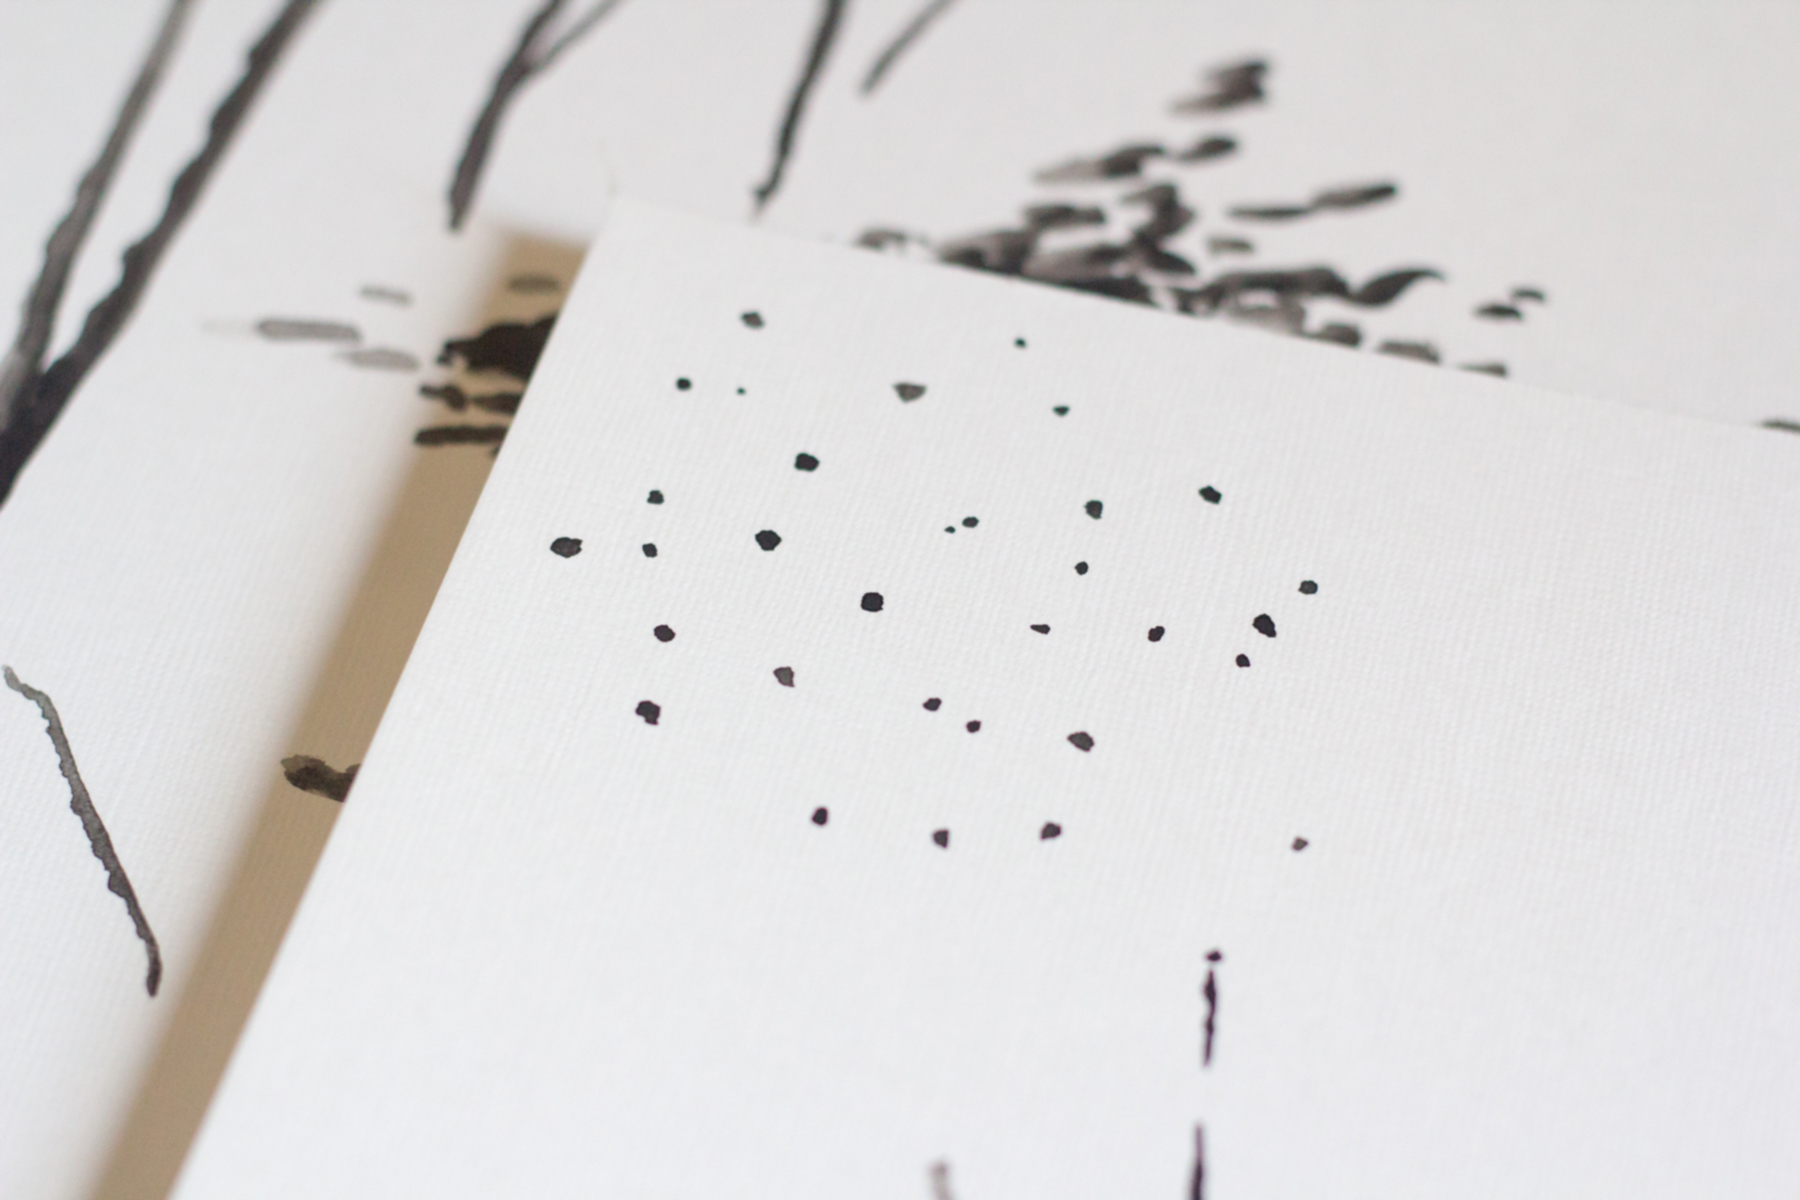
I painted some of the tree motifs in separate pieces so that I could mix and match once in Photoshop, and made sure to paint details like string lights, dots, and texture washes.
Once all my paintings were separated from the paper, I spent time working out a composition and color story that worked to both show the colors and theme of the wedding while keeping it a legible canvas for text to sit atop. Working digitally meant I could continually rework the composition and palette until it was just right.
The painting in the invitation is a bit dark to accommodate the wedding colors and to help make the text legible, but this method does keep the watercolor look intact, especially with lighter colors. Below you can see the same tree colored three different ways, the first being how it looks right after transferring. In the last two I used Kyle T. Webster’s brushes and various shades of the same hue to enhance the look.


If you want to learn the simple (like literally 6 seconds) process of how to use quick mask mode for your own drawings and paintings, check out the course here. Right now Skillshare is running an incredible promo for TWO FREE MONTHS on the platform – imagine what you could do between now and September… Grab it while you still can ????


comments